
Last updated November 15, 2026
 Architectural shingles
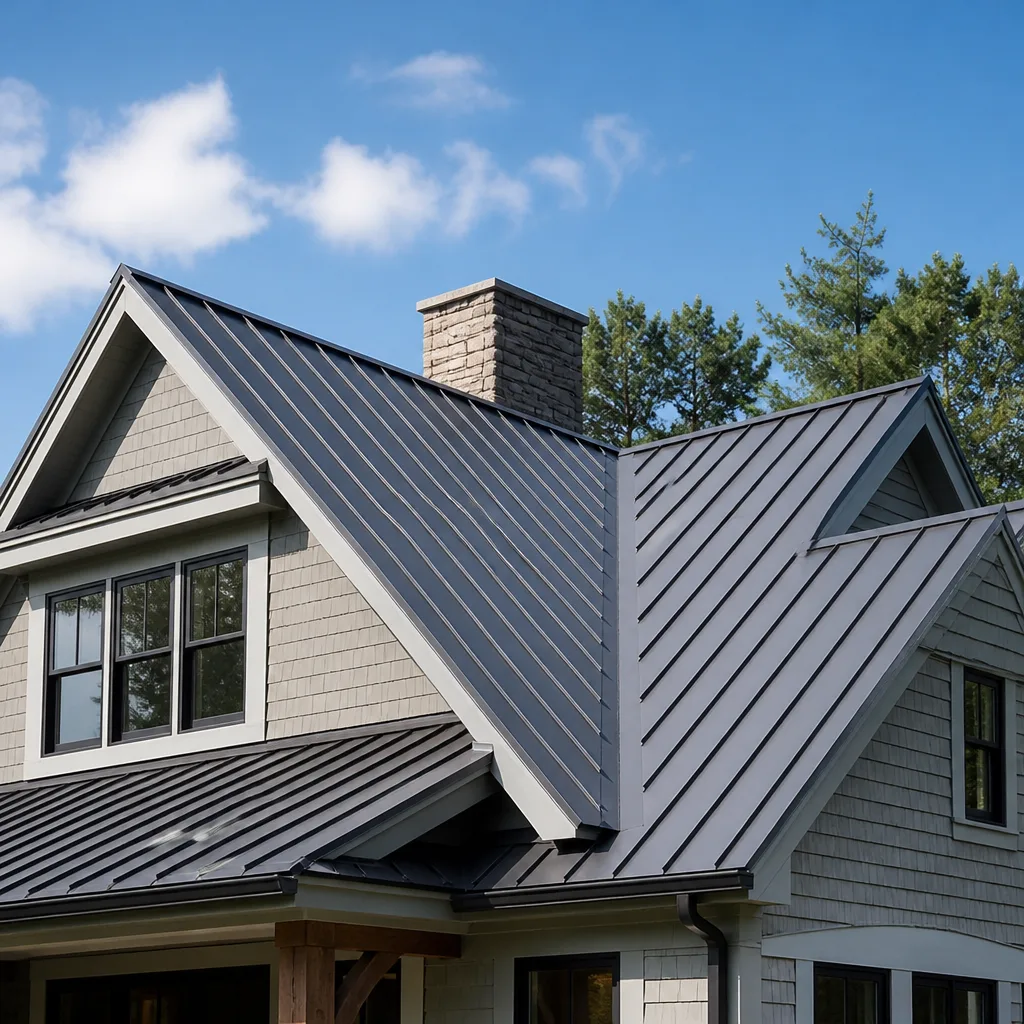 Metal roofing
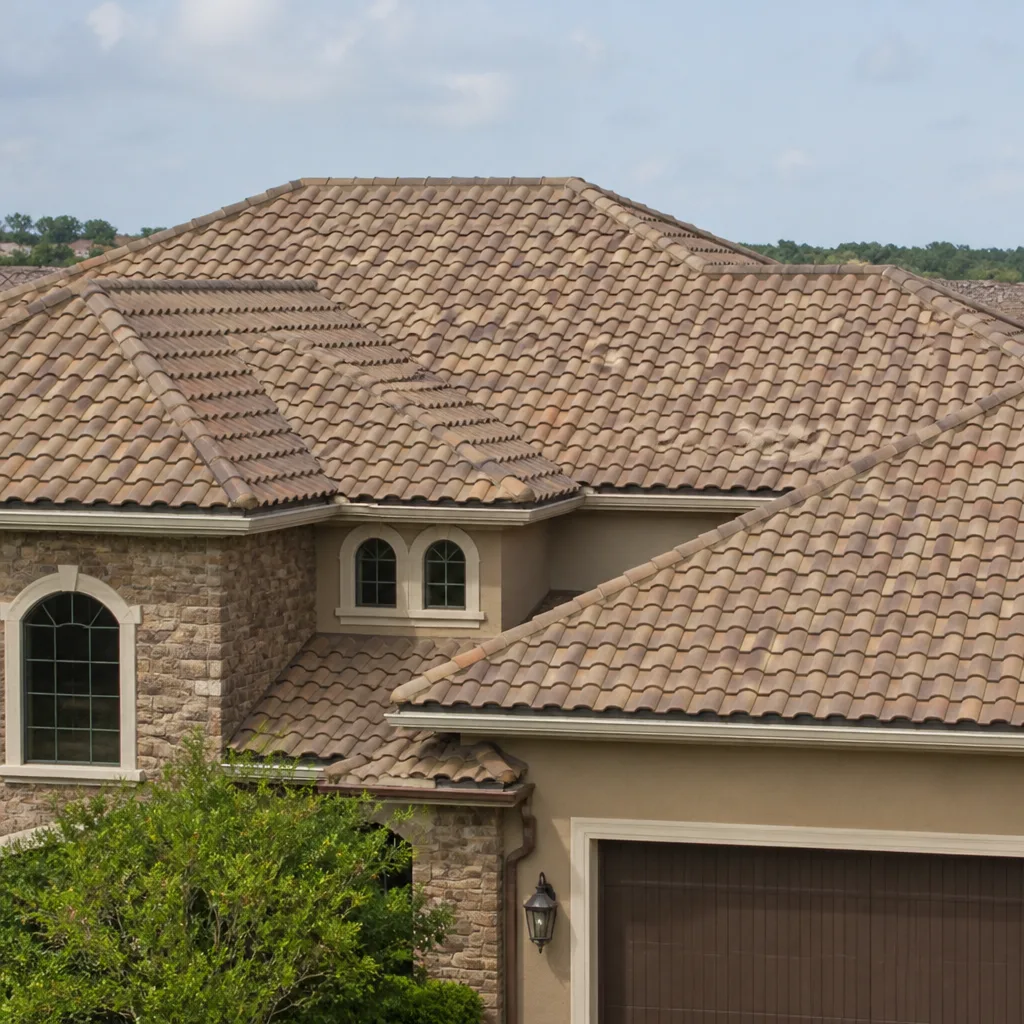 Tile roofing
 GAF
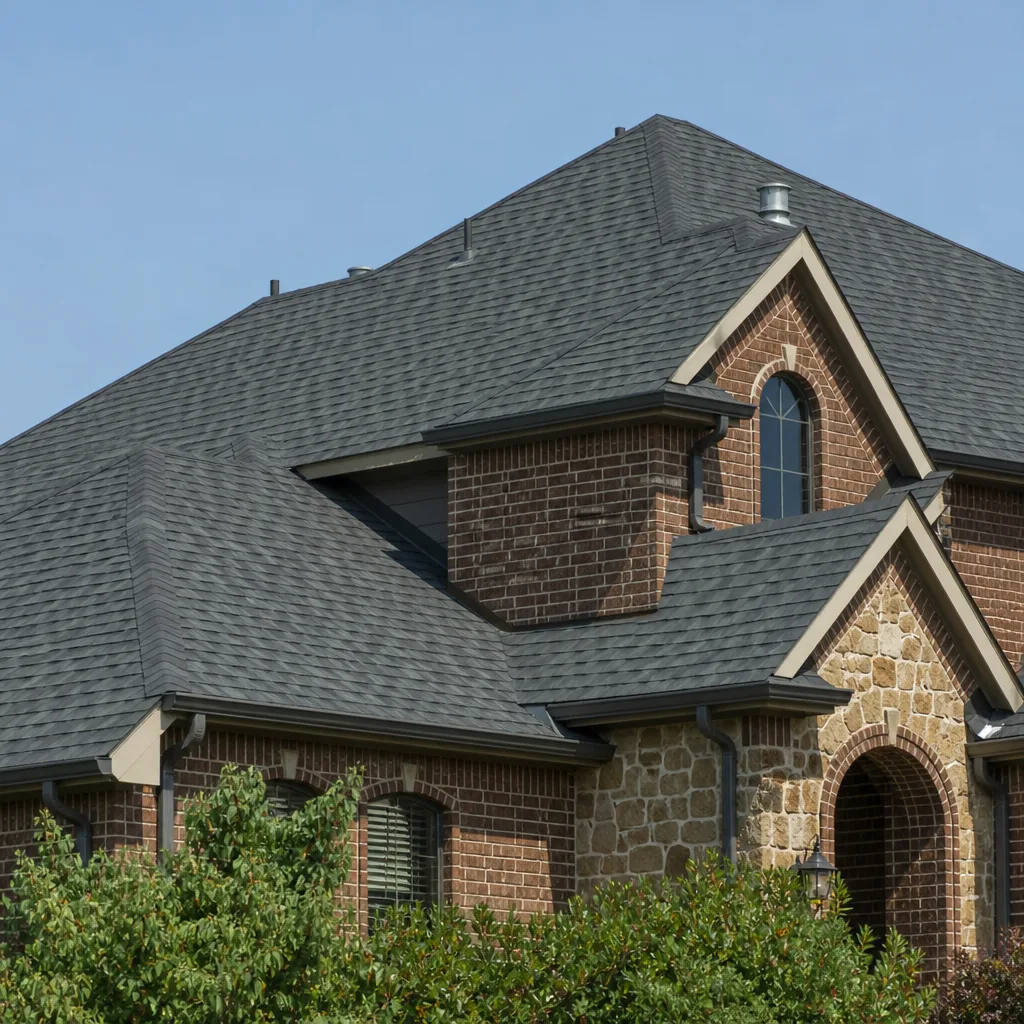 Owens Corning
 Flat & low-slope
Free roof inspection with deck photos before we talk money - GAF and Owens Corning certified installation
Roof Repair Maintenance Checklist for Sunrise Manor Homeowners
If your roof maintenance checklist includes “check for moss and algae growth,” it was written for someone in the Pacific Northwest, not Sunrise Manor. Here, the real enemies are different: UV that bakes shingles until granules wash off in the next rain, thermal cracking from the daily swing between a cold desert night and a hot afternoon, and sealant that dries to a brittle crust around every flashing seam. Wind-driven dust storms do the rest. This guide rebuilds the checklist from scratch around what actually fails on a Sunrise Manor roof, and it separates what you can safely check yourself from what needs a professional’s eyes.
Quick Answer
The right maintenance checklist for a Sunrise Manor roof focuses on UV degradation, thermal cracking, and dust-storm debris rather than moss or moisture, and it should be worked through twice a year plus once after every significant wind event. Walk the roofline from the ground with binoculars, clear valleys and drains, inspect sealant around HVAC and pipe penetrations, and call a professional for anything involving the deck, flashing replacement, or walking the surface. Granule loss, cracked ridge caps, and dried flashing sealant are the three failures that show up most often here.
Styles & brands we work with
- Architectural shingles
- Metal roofing
- Tile roofing
- GAF
- Owens Corning
- Flat & low-slope
Table of Contents
- Why a Sunrise Manor Roof Fails Differently Than the Checklist You Downloaded
- What Material Damage Looks Like vs. Normal Desert Weathering
- The Task-by-Task Inspection Checklist
- Why Flat and Low-Slope Sections Need Their Own Inspection Protocol
- Spotting Early Sealant and Flashing Failure Around HVAC Penetrations
- The Post-Haboob Inspection Routine Most Homeowners Skip
- What You Can Check Yourself vs. What Requires a Professional
- How to Time Maintenance Through the Sunrise Manor Year
Why a Sunrise Manor Roof Fails Differently Than the Checklist You Downloaded
A roof in Sunrise Manor lives a different life than the same shingles in a humid climate. The National Weather Service measures the damage in a different currency: ultraviolet hours, thermal cycles, and wind-blown particulate. That changes what you inspect and when.
Every day the sun rises over Sunrise Manor, it does two things to a shingle. It drives heat into the mat and asphalt, softening the surface and making it vulnerable to abrasion. Then it drops the temperature sharply overnight, and the material contracts. That expansion and contraction happens hundreds of times a year, and it’s what opens hairline cracks in the shingle mat and pulls sealant away from flashing before the shingle itself fails.
Add wind-driven dust and sand, which abrades the granule layer the way a sandblaster strips paint. The granules are the shingle’s UV armor. Once they’re gone, the asphalt underneath degrades quickly, dries out, and cracks. In wet climates, moss and algae hide this damage. Here, the sun exposes it, but most homeowners aren’t looking in the right places.
A maintenance checklist written for a wet climate tells you to check for moss, clear gutters of leaves, and look for water stains inside. Those tasks aren’t useless in Sunrise Manor, but they miss the failures we see most: granule loss on the south and west slopes, dried and curled ridge caps, and failed sealant around penetrations. Roofing Sunrise Manor works exclusively in this trade, across Roofing Sunrise Manor materials from IKO, Atlas, and Tamko, and we’ve learned to read a desert roof by what the sun has done to it.
What Material Damage Looks Like vs. Normal Desert Weathering
Before you climb a ladder, learn the difference between “this roof is doing what a desert roof does” and “this roof needs attention.” Most early calls we get are one of the two below, and the diagnosis determines whether the fix is a $400 repair or a full replacement conversation.
Normal weathering on a Sunrise Manor roof
- Faded color on sun-facing slopes. The south and west slopes will lighten and gray out faster than the north and east. This is expected and not a sign of failure.
- A few loose granules in the gutter or at the base of downspouts. Shingles shed some granules as they cure and age. A handful after a hot summer is normal.
- Slightly cupped shingle edges. A gentle upward curve at the shingle edge, especially on older roofs, is a normal aging pattern in dry heat.
- Dusty surface after a wind event. A coating of fine dust that rinses off with the first rain is cosmetic.
Damage that warrants a professional look
- Bare patches where granules are gone down to the black asphalt. This is advanced UV degradation. Shingles that are bare will crack and leak within a season or two.
- Cracked or missing ridge caps. Ridge caps take the full sun all day and dry out fastest. Cracks at the ridge let wind-driven rain into the top of the roof.
- Sealant that’s stretched, brittle, or peeling away from flashing. Once it pulls back, water can get behind the flashing and into the deck.
- Granules piling in gutters after one storm. A sudden heavy grain of granules is a sign a shingle face has given up.
- Curled, lifted, or torn shingle tabs. Tabs that lift after wind are the beginning of a leak path.
If you can’t tell which category you’re looking at, an inspection answers it. A standalone roof repair assessment isn’t a sales call dressed up as an inspection; it’s a diagnostic that separates cosmetic aging from active failure. Our technicians have up to 12 years of experience reading exactly this distinction.
The Task-by-Task Inspection Checklist
Below is the working checklist, organized by what to inspect rather than by season. Work through it twice a year, and again after any significant dust storm. Each task includes what you’re looking for and what it means.
- Walk the ground perimeter with binoculars. Look for lifted shingle tabs, bare patches, and anything that catches the light oddly. Note anything you can’t identify.
- Check the ridge line for cracks and caps that have lifted. Ridge caps are the most sun-baked surface on the roof. Look for missing caps and visible splits.
- Inspect every penetration from the ground or a ladder. Vent pipes, exhaust caps, skylights, and chimney flashing. Look for cracked sealant, rusted metal, or gaps.
- Check the valleys for debris and wear. Valleys channel water and collect dust. Any pooling or cracked valley metal is a priority.
- Look at the gutters after the first rain. A heavy deposit of granules means a shingle face has lost its armor. Overflowing gutters mean they need clearing.
- Inspect the fascia and soffit for staining or separation. Water tracks on fascia mean water is getting behind the roof edge.
- Check the attic after a rain or during a wind event. Staining on the underside of the sheathing, daylight through the deck, or moisture between rafters points to an active leak.
- Photograph everything. A dated photo record makes a professional inspection easier and gives you a baseline to compare against next year.
Most of these tasks are safe from the ground or a stable ladder. Never walk a roof you’re not trained and equipped to walk, especially in summer heat when shingles soften and grip becomes unreliable. The tasks below require a professional to assess accurately.
Why Flat and Low-Slope Sections Need Their Own Inspection Protocol
Many Sunrise Manor homes have a low-slope or flat section over a patio, garage, or addition, even when the main roof is pitched. These sections follow completely different failure physics, and a standard shingle checklist misses them entirely.
On a flat roof, water doesn’t run off quickly; it sits until it evaporates or finds a low point. In a climate this dry, that sounds harmless, but the real risk is different. Flat roofs are sealed with membranes, modified bitumen, or built-up systems, and the constant thermal cycling from hot days and cool nights stresses the seams and flashings more than the field of the membrane. Add UV degrading the outer surface and dust collecting in the seams, and you get early seam failure.
The protocol for a flat section is:
- Walk the perimeter and low points. Look for standing water after rain, ponding marks, or discoloration that indicates water sits and then evaporates.
- Inspect every seam. Any lifted, cracked, or blistered seam is a candidate for early failure.
- Check all flashings and drains. Scuppers, drains, and edge flashings should be clear and tightly sealed.
- Look for blisters and alligatoring. Bubbles in the membrane or a cracked, reptile-skin texture mean the surface is aging out.
- Check the parapet caps. Caps crack and let water into the wall cavity.
A flat or low-slope section should be inspected by the same professional who looks at the pitched roof, and by the same company, so nothing falls between scopes. Roofing Sunrise Manor handles inspection, repair, and full roof replacement under one roof, including the transitions between flat and pitched sections that cause the most confusion. If your flat roof is nearing the end of its life, a replacement conversation may make more sense than repeated patches, and we’ll tell you directly which is the better money.
Spotting Early Sealant and Flashing Failure Around HVAC Penetrations
Sunrise Manor homes tend to have more roof penetrations than homes in most other markets because of the way HVAC equipment, swamp coolers, and exhaust systems are routed through the roof. Every one of those penetrations is a seam, and every seam is a place where sealant dries out and fails.
Sealant failure is the single most common early-stage leak we diagnose here. The pattern is consistent: the sealant around a vent boot or an HVAC curb dries to a hard, cracked crust after several summers, pulls slightly away from the metal, and opens a path for wind-driven rain and dust. Because there’s often no visible leak for months, homeowners don’t catch it until water is already staining the ceiling. By then, the deck around the penetration may be soft.
Here’s what to look for:
- Sealant cracking or pulling away. Any visible gap between sealant and metal or membrane is a failure in progress.
- Rusted or loose metal boots and collars. Rust lifts metal away from the sealant.
- Discolored or bent HVAC curbs. A curb that’s out of level will pool water against the sealant on one side.
- Missing or cracked sealant on the pipe boot. The boot’s collar cracks first on the sun-facing side.
- Water staining on the attic sheathing directly below the penetration. This tells you sealant has already failed.
Resealing a dried penetration is one of the cheapest preventive maintenance tasks on a roof. Replacing the deck below a failed penetration is one of the most expensive. That gap is why we recommend an inspection at least once a year if your roof has more than one or two penetrations. Get the sealant addressed while it’s still just a sealant problem.
The Post-Haboob Inspection Routine Most Homeowners Skip
Dust storm season is the single biggest maintenance trigger for a Sunrise Manor roof, and it’s the one most homeowners neglect. The wind-driven dust abrades shingle surfaces and ridges, forces dust into every penetration, and can lift or pack debris into valleys and gutters. A post-storm walkthrough catches small problems while they’re still small.
After any significant wind event, work through this routine:
- Walk the perimeter and look for loose or lifted shingles. Wind catches lifted tabs and tears them off in the next storm.
- Check the ridge and any hip caps for new cracks or missing pieces. Ridge caps are the first thing to go in a wind event.
- Look at gutter ends and downspouts for debris flow. A stopper of packed dust and granules can send water back under the roof edge.
- Look for accumulated dust in the valleys. Deep dust in a valley holds moisture after a rain and softens the shingles under it.
- Look for any new staining in the attic after the next rain. Wind can also drive rain into a new gap that didn’t exist before.
- Photograph anything new. The camera will show you what your eyes skipped.
If you saw any visible change after the storm, get it looked at now. A one-hour inspection after a haboob is much cheaper than the repair after a leak goes undetected for a month. If you’d rather schedule the walkthrough with a professional, call (888) 849-9122 and we’ll get it on the calendar.
What You Can Check Yourself vs. What Requires a Professional
Worth doing yourself: the ground-level perimeter walk, gutter clearing from a stable ladder, attic inspection after rain, photo documentation, and visual checks from a safe viewpoint. These are safe and useful.
Requires a professional:
- Walking or climbing the roof surface itself. Heat-softened shingles and hidden failed deck areas make this genuinely dangerous.
- Determining whether granule loss is cosmetic or terminal. This requires reading the shingle face and the age of the roof together.
- Inspecting valleys, hips, and low-slope membranes. The most critical failures hide here, and they can’t be judged from a ladder.
- Replacing flashing or resealing penetrations correctly. Improperly done, a reseal traps moisture and causes rot.
- Diagnosing an active leak. What looks like one leak can be several, and finding the source needs a trained eye.
- Any repair involving the deck, structural sheathing, or the roof’s water barrier. These are outside safe DIY territory.
Roofing Sunrise Manor offers inspection as a standalone service precisely so you can find out what your roof actually needs before committing to anything. Our crews work with IKO, Tamko, Atlas, and four other leading brands, which means the recommendation from an inspection is shaped by your roof, not by a supplier deal. We handle the full lifecycle: inspection, repair, and replacement, with no hand-offs between scopes.
How to Time Maintenance Through the Sunrise Manor Year
Timing matters, because a roof inspection done in the wrong week can miss active failures. A simple year-round rhythm:
- Spring, before the heat sets in: Full inspection, both pitched and flat sections, focusing on winter wear and penetration sealant.
- Early summer, before peak heat: Confirm the sealant and flashing are sound and that ridge caps are intact for the hottest months.
- After any wind event: Post-storm walkthrough as outlined above.
- Fall, before winter rain: Full inspection again, with attention to gutters, valleys, and any new staining.
- Winter, after the first significant rain: Interior attic check for staining and damp spots.
If you’re ever unsure whether a change is normal aging or active failure, that’s the moment to call rather than wait for the next scheduled check. Sun-damaged shingles can go from “looks fine” to “leaking” in one hot season.
Common Mistakes to Avoid
- Following a moisture-first checklist. Moss and algae guides were written for wet climates and miss the granule loss and thermal cracking that do the real damage in Sunrise Manor.
- Skipping the flat or low-slope section. Many Sunrise Manor homes have at least one low-slope area, and it fails on its own timeline.
- Ignoring dried sealant around HVAC penetrations. It’s the most common pre-leak failure we see, and it’s one of the cheapest to fix when caught early.
- Waiting for a storm to trigger an inspection. A post-haboob walkthrough plus a scheduled fall inspection covers the damage that storms leave behind.
- Accepting “patch it and see” without a full inspection. Without an honest diagnosis, patches add cost and mask the real problem.
- Walking the roof in summer heat. Softening shingles make the surface slick and the deck uncertain. Don’t walk it yourself.
- Letting a small leak wait until it stains the ceiling. By the time you see the stain, the deck may already be soft, and the repair becomes a re-deck job.
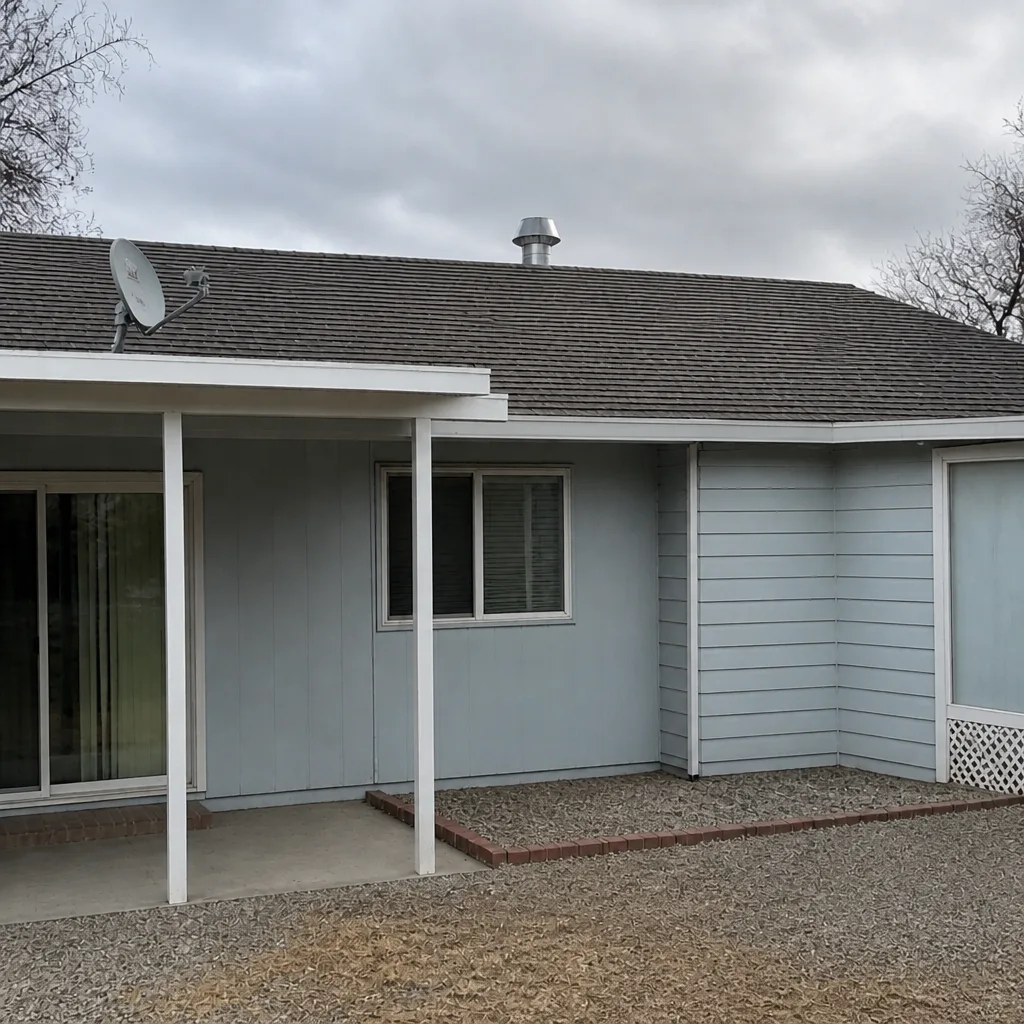
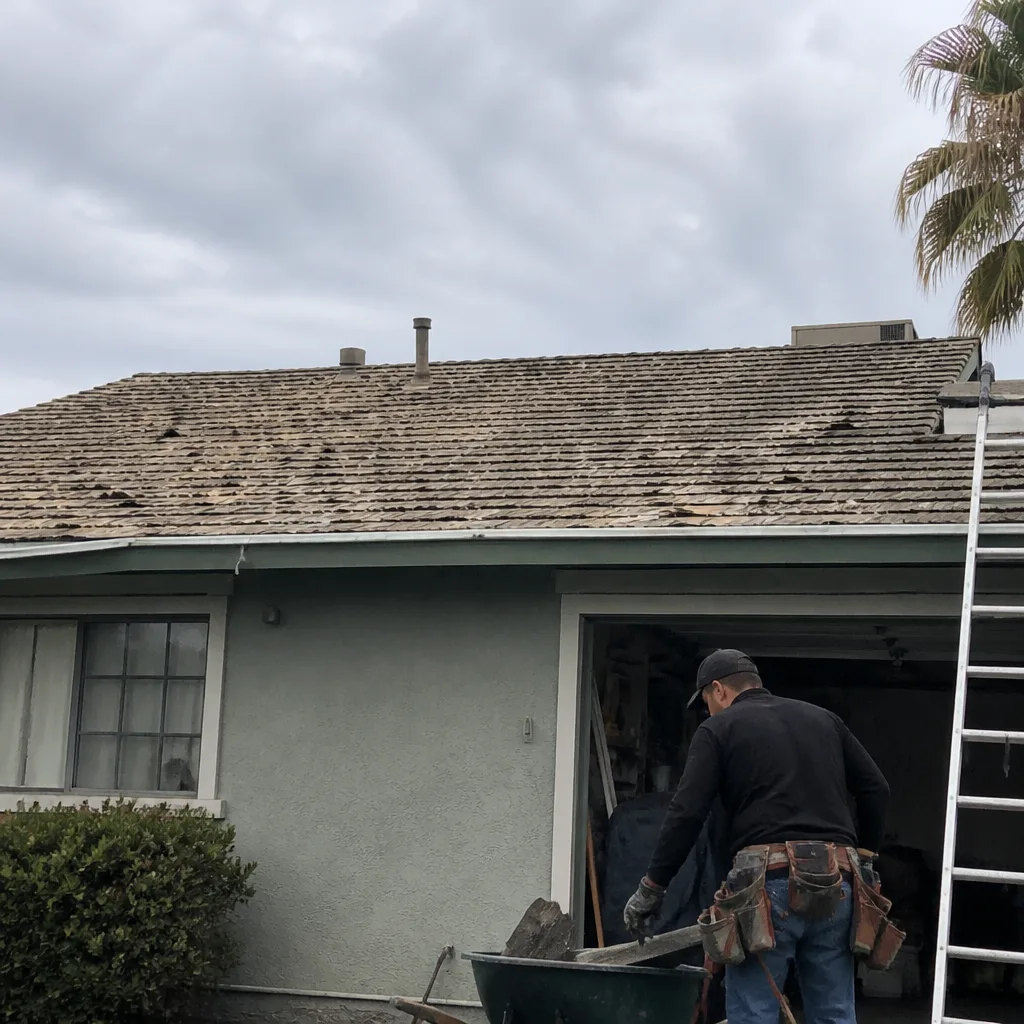
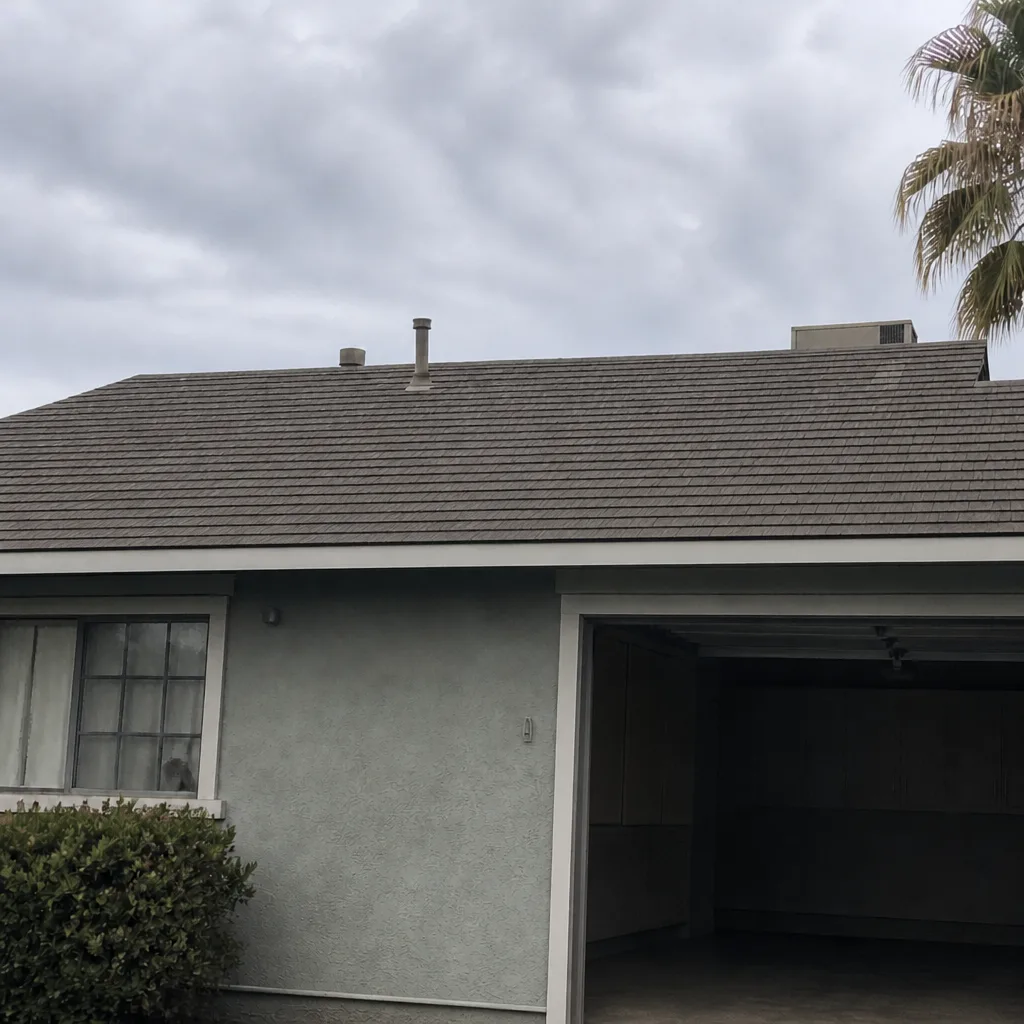
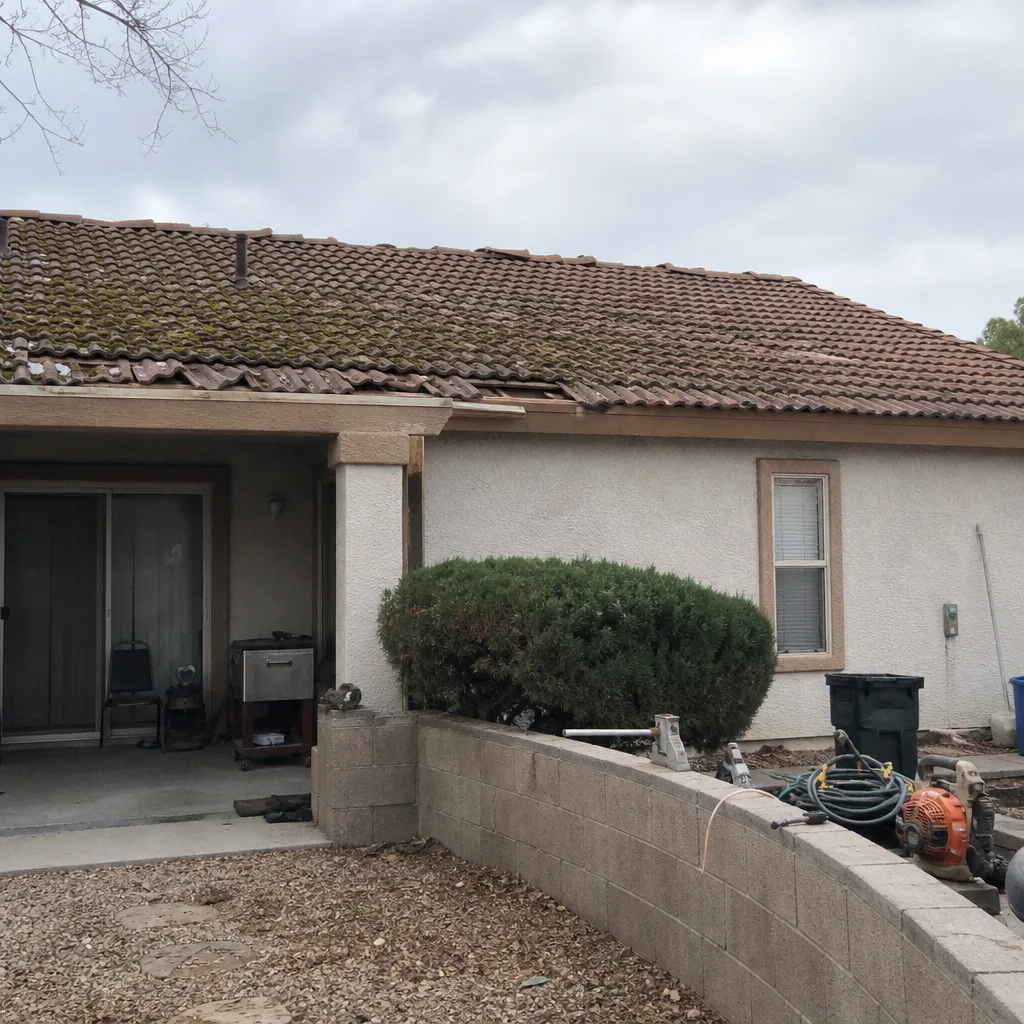
See the difference
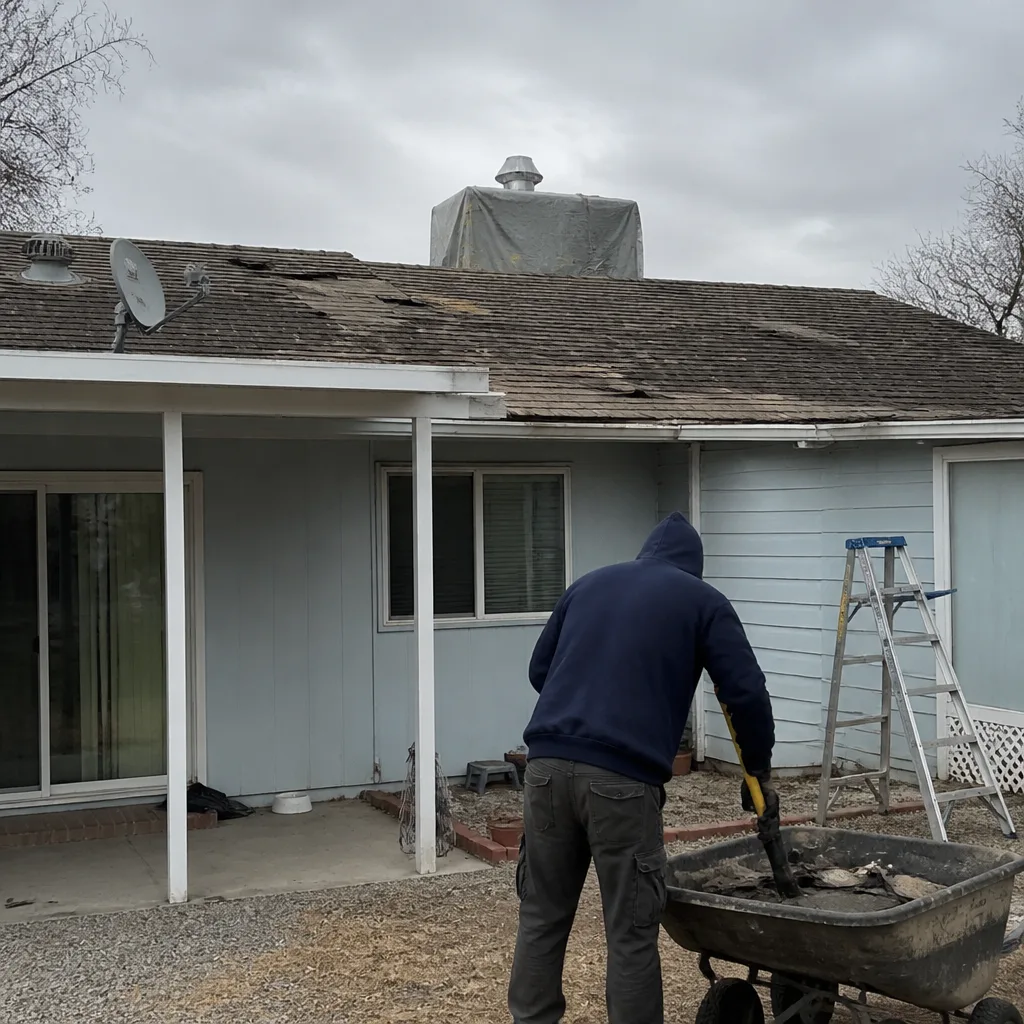 Before
 After
 Before
 After
 Before
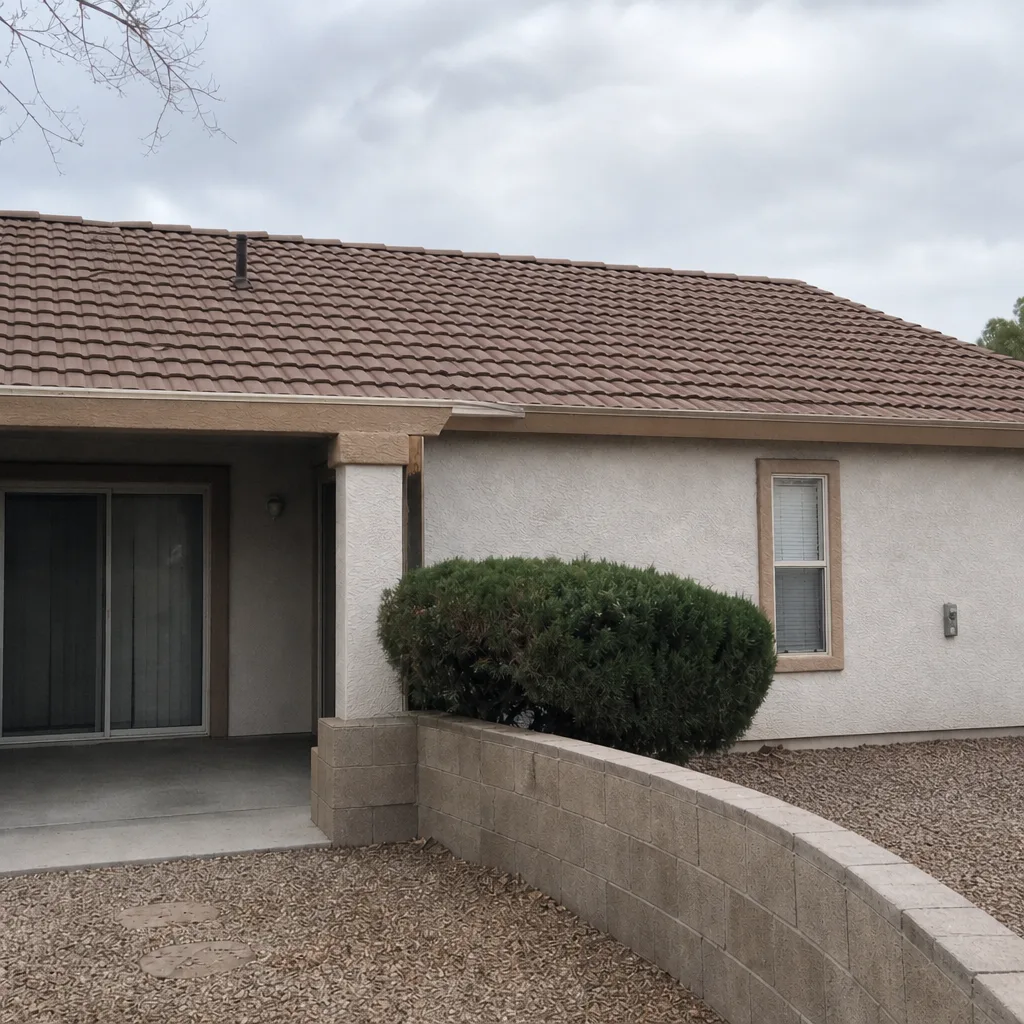 After
When to Call a Professional
Call us when you see bare shingle patches, granule flow after a storm, cracked ridge caps, dried or peeling sealant around HVAC or pipe penetrations, or any staining in the attic after a rain. Those are the signals that a repair or replacement decision is at hand, and they’re the reason we offer a standalone inspection before recommending either. Roofing Sunrise Manor offers free estimates in Sunrise Manor, and our technicians have up to 12 years of experience reading exactly these failures. If you’re not sure what you’re looking at, that’s fine; that’s what the inspection is for. Call (888) 849-9122 to schedule. We answer 24/7. Fast dispatch from 7am to 7pm, Sunday through Friday. We’re closed on Saturday. We work across GAF, CertainTeed, Owens Corning, IKO, Atlas, Tamko, and Boral so the recommendation fits your roof, not a supplier lineup.
Frequently Asked Questions
A Sunrise Manor roof needs attention focused on UV damage, thermal cracking, and dust-storm debris: perimeter checks, granule loss on sun-facing slopes, sealing around penetrations, clearing valleys and gutters, and separate checks of any flat or low-slope sections. Moss and algae checks matter far less here than sealant and granule condition. A full inspection twice a year, plus a post-storm walkthrough, covers what this climate actually throws at a roof. Call (888) 849-9122 to schedule an inspection and get an honest diagnosis.
Not the way wet-climate homeowners do. Moss and algae need sustained moisture to grow, and Sunrise Manor’s dry air means they rarely get a foothold. Your inspection time is better spent on bare shingle patches, cracked ridge caps, and sealant failure around penetrations. If you do see algae-like discoloration, it’s usually dust or a shingle surface issue, and worth a look. Call (888) 849-9122 for a professional read.
Twice a year, plus once after any significant wind or dust storm. Spring and fall are the natural checkpoints because they bracket the seasons where failures tend to show. A post-storm walkthrough after a haboob is worth doing separately because wind events drive dust into valleys and loosen ridge caps. Standalone inspections are the right tool, and Roofing Sunrise Manor offers them as their own service rather than as a sales call. Call (888) 849-9122 to book.
Call a roofer. It’s tempting to grab a tube of sealant and redo the flashing around a vent or HVAC curb, but improper resealing can trap moisture against the deck and cause rot that’s much more expensive than the original problem. A professional reseal also checks the boot or curb condition underneath, which is where the real failure usually starts. Call (888) 849-9122 for an inspection of your penetrations.
The answer depends on how much granule loss, cracking, and sealant failure your roof has accumulated, and how old the shingles are. A repair makes sense when the damage is isolated to a few penetrations or ridge caps. A replacement is the right call when bare patches cover large areas or multiple roof slopes are failing at once. That distinction is exactly what a professional inspection answers. Call (888) 849-9122 and we’ll give you a straight answer, whether that’s repair or replacement.
Walk the ground perimeter, check for lifted or missing shingles, check ridge caps, look at valleys and gutters for dust and granule buildup, and then check the attic for staining after the next rain. Photograph anything new. If the storm caused visible change, call for an inspection rather than waiting for the next scheduled one. For post-storm assessments in Sunrise Manor, call (888) 849-9122. Fast dispatch from 7am to 7pm, Sunday through Friday. We answer 24/7.
The Bottom Line
The most useful roof maintenance checklist is built around the conditions your roof actually faces. In Sunrise Manor, that means UV degradation, thermal cycling, dried flashing sealant, and dust-storm debris, not moss and moisture. Twice-a-year inspections, post-storm walkthroughs, careful checks of any flat or low-slope sections, and early attention to HVAC penetration sealant catch the failures that do the real damage here. Do the ground-level work yourself; leave the roof itself to a professional, and start with a standalone inspection before you spend on a repair or replacement. Roofing Sunrise Manor offers free estimates in Sunrise Manor and installs materials from GAF, CertainTeed, Owens Corning, IKO, Atlas, Tamko, and Boral so the recommendation fits your roof, not a supplier contract. Call (888) 849-9122. We answer 24/7. Fast dispatch from 7am to 7pm, Sunday through Friday.
Written by the team at Roofing Sunrise Manor.